Pat and I have been composting on and off for over 15 years now. It truly isn't complicated, but to be successful, dedication is key. I am currently reading two books: Fertilizers for Free: Updated and Revised (1999) by Charles Siegchrist, Storey Publishing; and Don't Waste Your Wastes--Compost'em: The Homeowner's Guide to Recycling Yard Wastes (1991) by Bert Whitehead, Sunnyvale Press. Yes, both publications may be considered "old" however, since nature is the ultimate composter--I dare say nothing much has developed in the last 10 to 20 years!
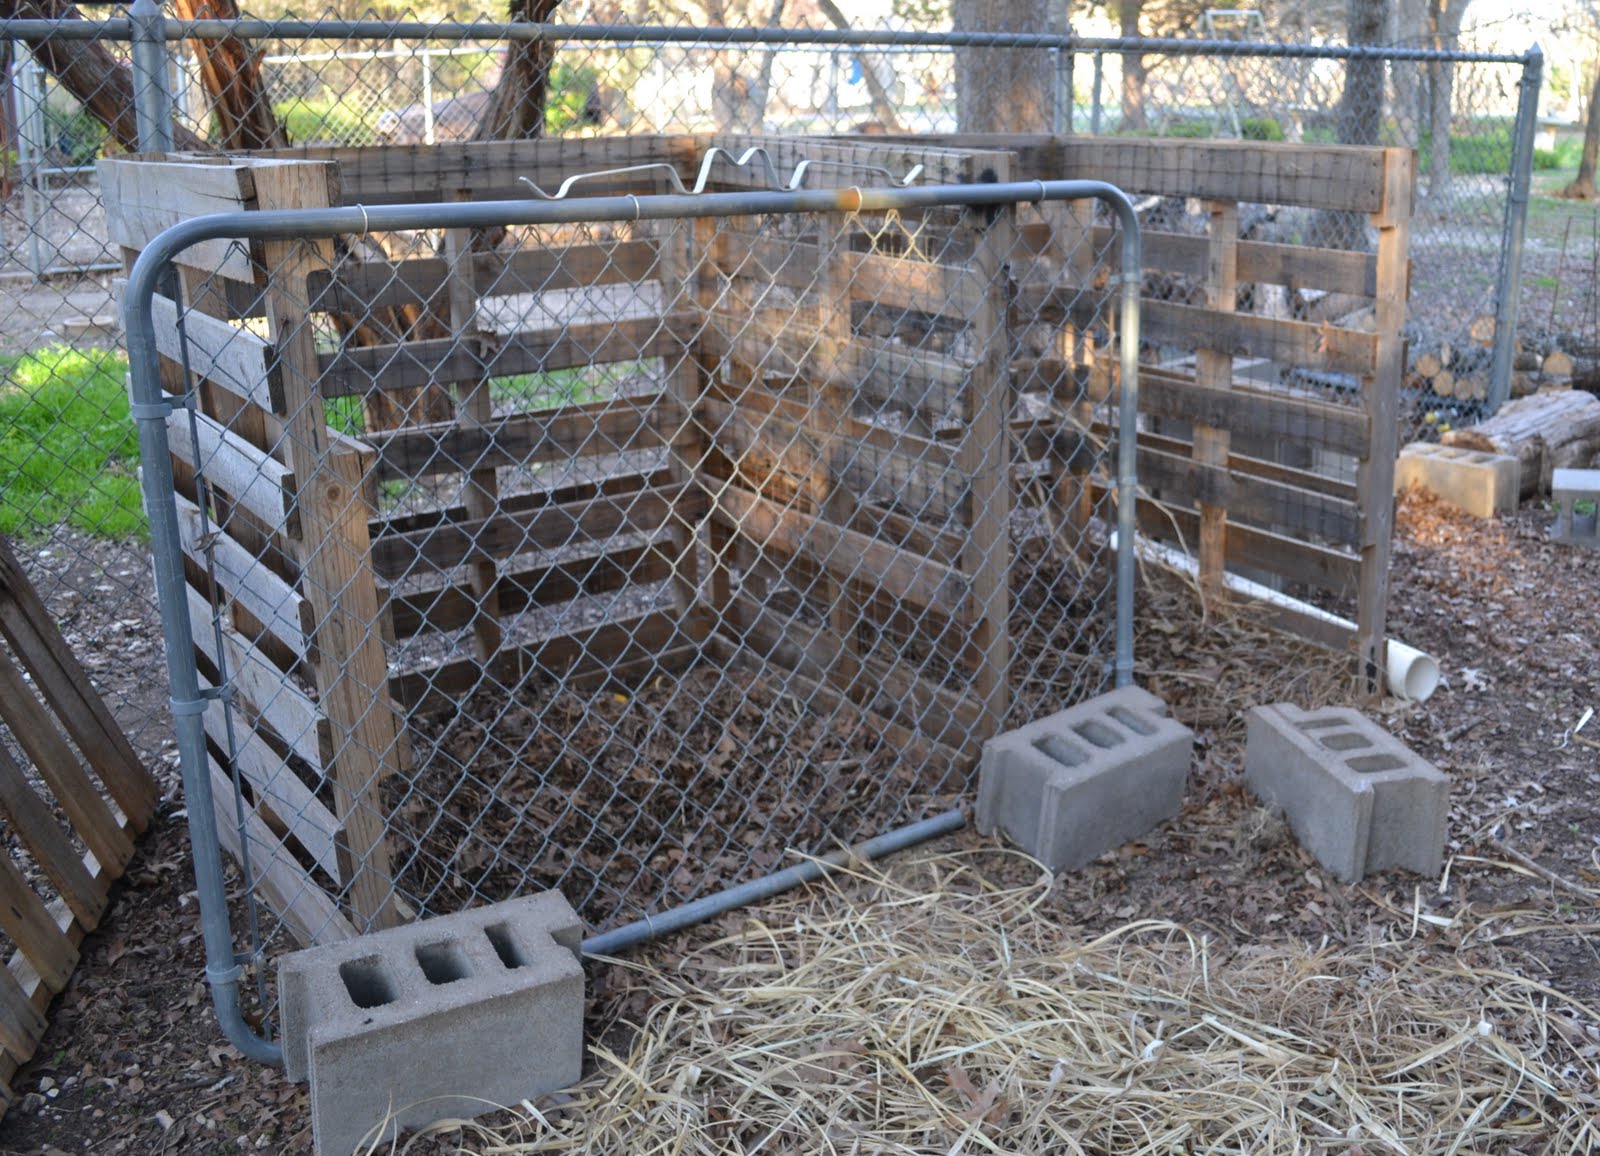 |
| 2-Stage Compost Bin. Bin on the left is the "working" bin. Bin on the right is currently the "holding" bin, but it needs to be cleaned out to be used as the "finished" bin. We had a third bin, but the cinder blocks were used for the new onion bed! |
There are a few basics to composting, and because Pat and I are still perfecting what nature does so well on her own, I consider this topic to be a journey as well. One new thing I did learn from Don't Waste Your Wastes is I was under the impression that a cold compost would not work. In otherwords, compost piles aren't working unless they're hot. I'm proving this to be false since the composting I've done during the winter has been "cold." According to Whitehead, there are 3 microorganisms that work under certain conditions: psychrophile works under "cold" conditions; mesophile works under warm conditions; and thermophile works under hot conditions. Whitehead does say that hotter compost piles are more efficient, and I know this to be true. However, what I am seeing in my "cold" pile right now is working--I do have humus--not much--but I do have humus! My ultimate goal is to get this compost pile "cooking" so that I can produce a hefty amount of organic matter this planting season. This weekend I plan to remove some of the lovely dirt to my "resting" area so it can rest and cure.
- Build a simple structure to house your compost that allows air to flow in. It isn't necessary to purchase a composting bin, however, they are nice! We've used cinder blocks, pallets, chicken wire, or a simple pile of stuff behind the back fence--completely open. Since we live in the country, it is essential we secure our pile so our "green" isn't eaten overnight by dogs and vermen!
- Make sure the pile is turned every 3 to 5 days and add some water if it dries out. Ours dries out a lot during the summer months.
- Use 75% brown matter to 25% green matter [City of Waco Recycling Division Composting Wheel]. Anything that looks brown, probably is brown. Anything that looks green, probably is green. Freshly mown grass is green. Dried out grass is brown.
- I like to layer brown matter and green matter like a lasagne to start with. Top off with a little more brown each time you add green. I find that adding leaves that have started to decompose, or mold, works well and helps the pile compost.
- If it isn't time to turn the pile yet, be certain to bury green matter within the pile. Bury it so that vermen do not smell it and to help it decomposes faster and more efficiently...and to reduce fly larve.
My husband bought a contraption to use for composting several years back, but has never got it going. I was also under the delusion composting piles had to be hot and Alaska is cold most of the year. I will show my husband your recipe and let him know the good news! I am glad I stopped by today.
ReplyDeleteThanks for the follow Shanae! Look for more composting posts as I share what I learn from reading and experience! Love the inspiration your blog has...
ReplyDelete